Out-of-the-box, FogBugz provides an intentionally simple workflow for case resolution and closure. We have four category types, each with a single Active status and a few different Resolved statuses. As a rule, cases are automatically assigned back to the case opener upon resolution. We use this simple workflow at Fog Creek Software, but recognize that some customers would like to tweak their case workflow to suit their unique work processes.
To get started, first make sure you have the Workflow Plugin installed (Installation instructions). If it is installed, it will be available as an option in the Admin menu next to your name. From the Workflow page, you'll be able to customize categories, statuses, and workflows.
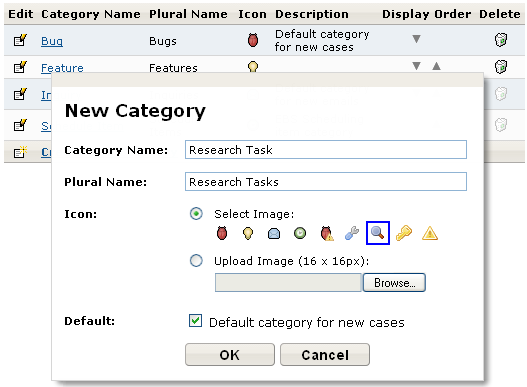
On the Categories screen, you can configure existing case categories, or create brand new ones. Case categories exist site-wide; you cannot, for example, configure one project to allow categories that others do not.
For each category, you can customize:

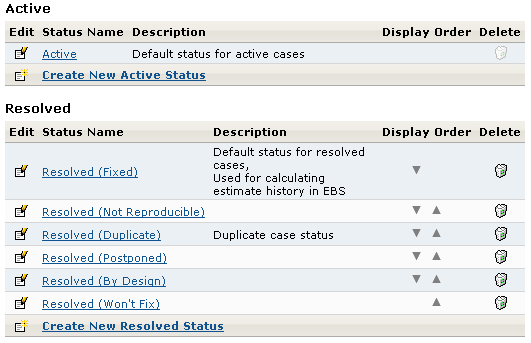
On the Statuses screen, you can then specify a set of active and resolved statuses for each category. Like categories, statuses are site-wide.
For each active status, you can customize:
For each resolved status, you can customize:

In FogBugz, a Workflow is formally defined as a set of rules for case assignment based on case status. Any number of workflows can be created, and each project can select which workflow best suits the team's working style.
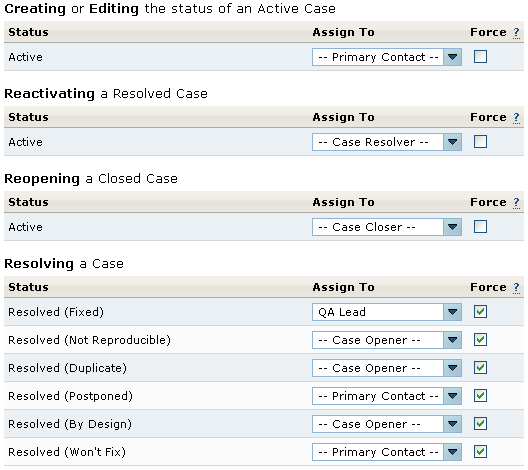
The Workflow screen allows you to configure, for each category, whom cases are assigned to upon transition to each status within the category. You can select a particular user, or select a user role, such as Primary Contact or Case Opener.
In addtion, you can choose whether or not to force case assignment to that particular user. If the Force checkbox is checked, the Assign To field will not be editable when editing a case and transitioning to the new status.
